This tutorial describes how to use numerous features of the Email Defense Portal website.
-
Browse to the Email Defense Portal (https://spam.dnihost.net/)
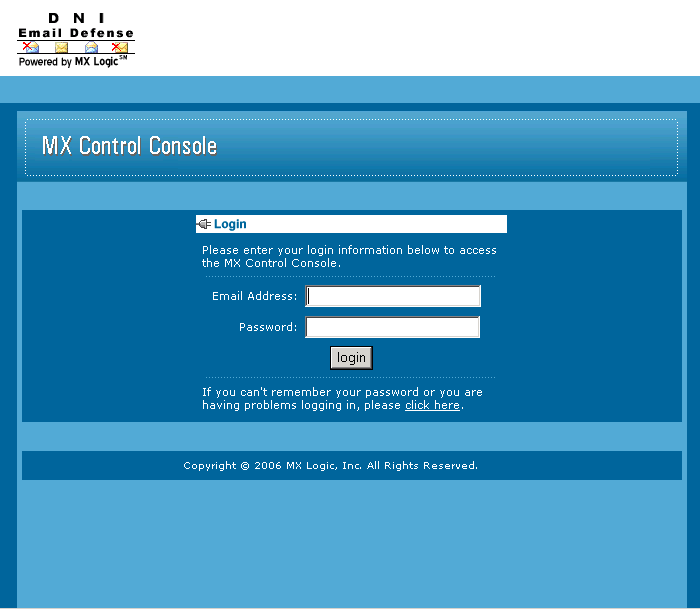
After you browse to the Email Defense Portal, you must login with your assigned username and password. This is usually the same email address and password you use to login to DNI Customer Webmail (https://webmail.dnihost.net/).
NOTE: If you have a password that DOES work with DNI Customer Webmail but DOES NOT work with the Email Defense Portal, please submit a Support Request and ask us to "Configure authentication for your Email Defense account".

-
Click the "Quarantine" Menu to Review "Quarantined Messages" (click message subject to view a message)
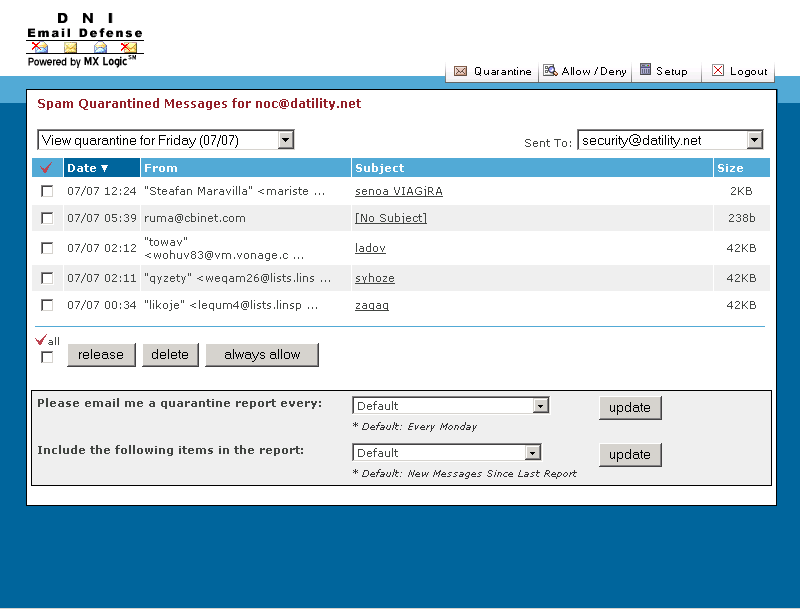
After you login, you will be shown a list of Quarantined Messages. Click the message subject to view an individual message.
NOTE: You may need to adjust the two dropdown filters if you are seeing too many (or too few) blocked messages. In the example above, the dropdown filters are set to show us the "Quarantine for Friday (07/07)" and all blocked messages that were sent to the "security" email alias. We could easily adjust the filters to show us all messages sent to any of our email aliases.
-
Click the Message Subject to Review an Individual Message
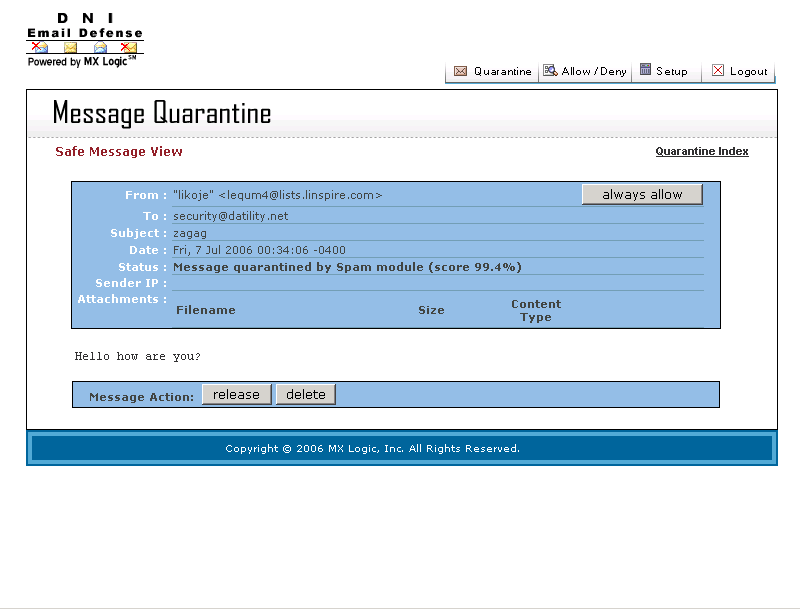
After you click on a message subject in the list of Quarantined Messages, you will be able to review the individual message. If the message is legitimate, we recommend you click "Always Allow". This will add the sender to your "Allow List" so they are never blocked again and will release the message from quarantine. Please be patient, it may take up to an hour for the message to reach your mailbox after it has been released.
-
Click the "Allow/Deny" Menu to Manage your Allow and Deny Sender Lists
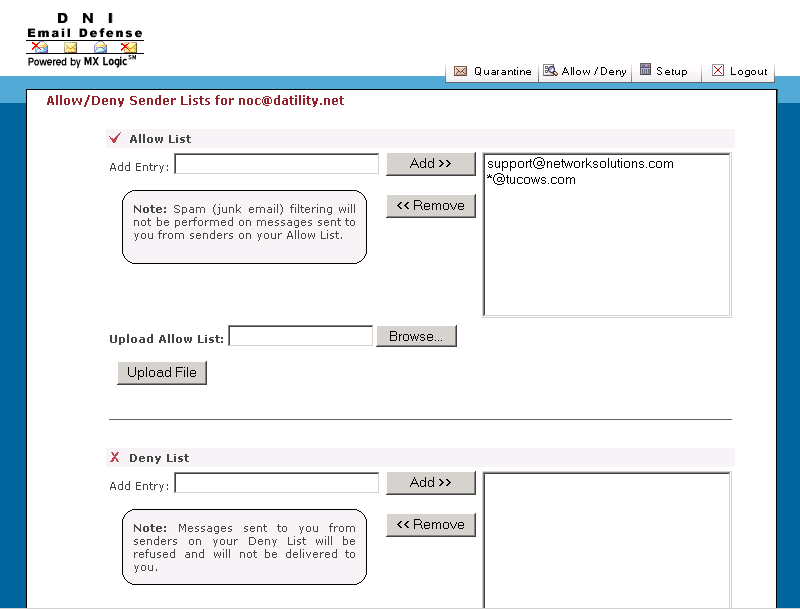
Allow List: Senders in this list will NEVER be blocked! We recommend you add senders to this list if the mail filter has blocked their legitimate mail in the past. You will normally need to use this list to accept mail from sender address for any newsletters and/or advertisements you want to receive.
Deny List: Senders in this list will ALWAYS be blocked! We recommend that you only use this list to block addresses that send you junk mail on multiple occassions. You should NOT add the sender address for every junk mail message you receive, since people who send junk mail do not normally use the same sender address.
-
Click the "Setup" Menu to Manage your "Password" and any "Aliases"

Password: You may not be able to change your password here if your Email Defense password is linked to your DNI mailbox password. In this case, please use the DNI Control Panel to change your email password.
Aliases: Click the "Aliases" link to manage your Email Aliases.
-
Click the "Setup" Menu to Manage your "Password" and any "Aliases"
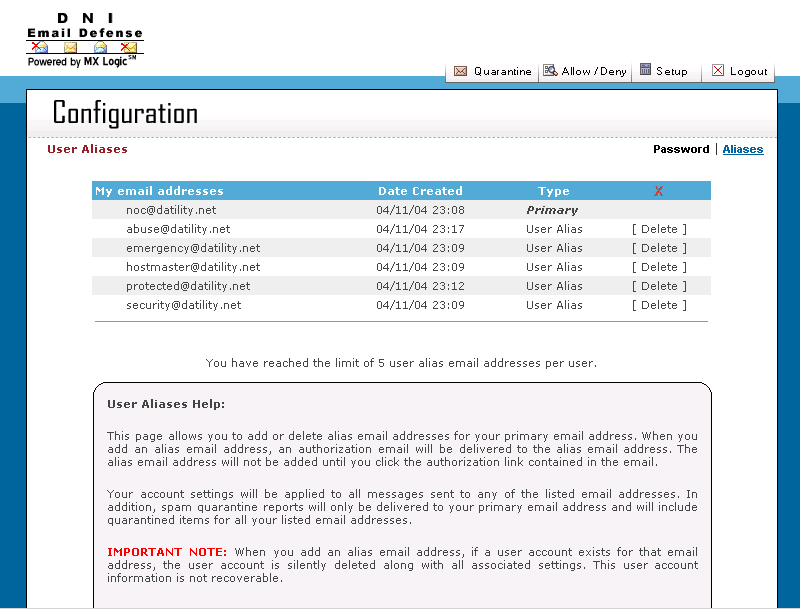
Password: Click the "Password" link to manage your Email Defense password.
Aliases: This page allows you to add or delete alias email addresses for your primary email address. If you receive email for any other email addresses at your domain (ie: info@ or sales@), you should list those addresses here. If you do not, junk mail sent to those addresses will NOT be filtered. You may only add up to five (5) aliases per email address.