Configure Datility email in Microsoft Windows Live Mail
This tutorial was written for Windows Live Mail 2012 on Windows 7. Screens and options may vary slightly for different versions of Windows Live Mail.
-
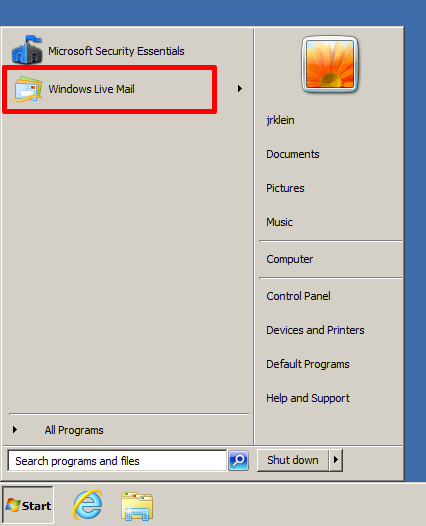
Open Microsoft Windows Live Mail.

-
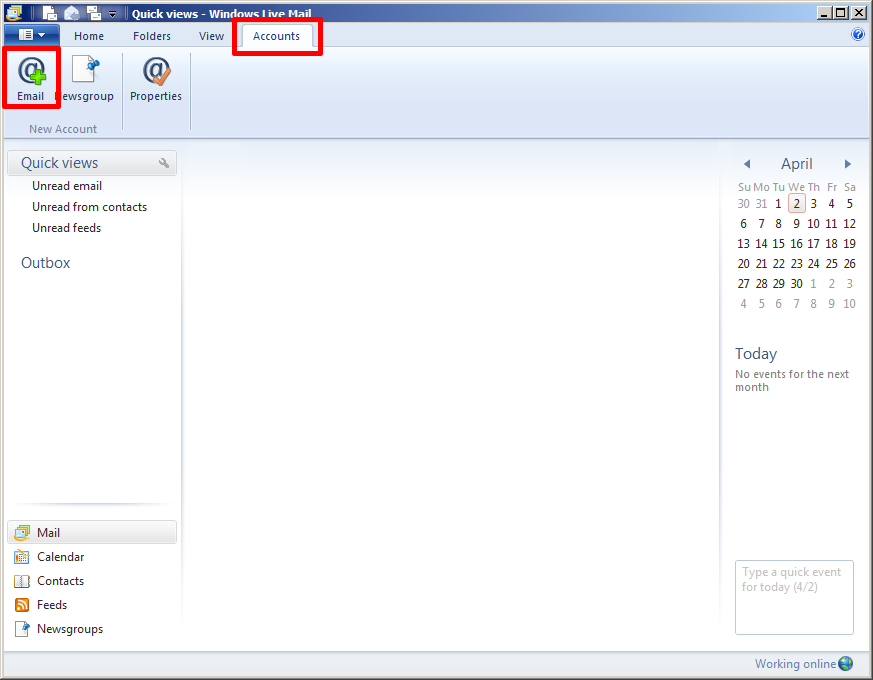
Click "Accounts" tab, then click "Email" above New Account.
-
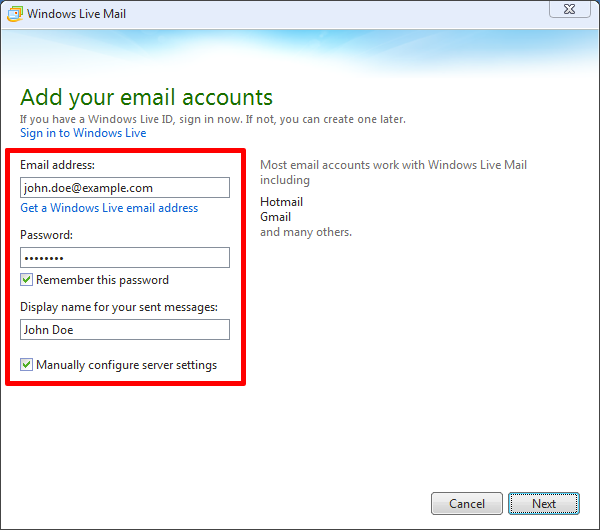
Enter the following settings, then click "Next".
- Email address: Enter your full Datility email address.
- Password: Enter your Datility email password.
- Display name for your sent messages: Enter your name as you want it to appear when you send email.
- Check "Manually configure server settings"
-
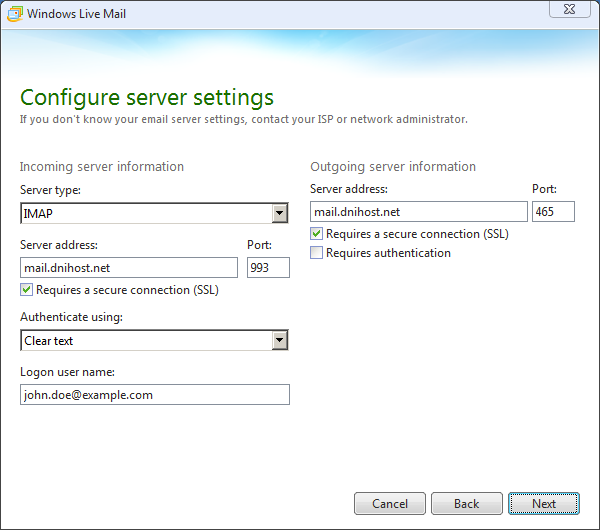
Enter the following settings, then click "Next".
Incoming server information:
- Server type: IMAP
- Server address: mail.dnihost.net
- Port: 993 (or 995 for POP3)
- Check "Requires a secure connection (SSL)"
- Authenticate Using: Clear text
- Logon user name: Enter your full Datility email address.
Outgoing server information:
- Server address: mail.dnihost.net
- Port: 465
- Check "Requires a secure connection (SSL)"
- Check "Requires authentication"
-
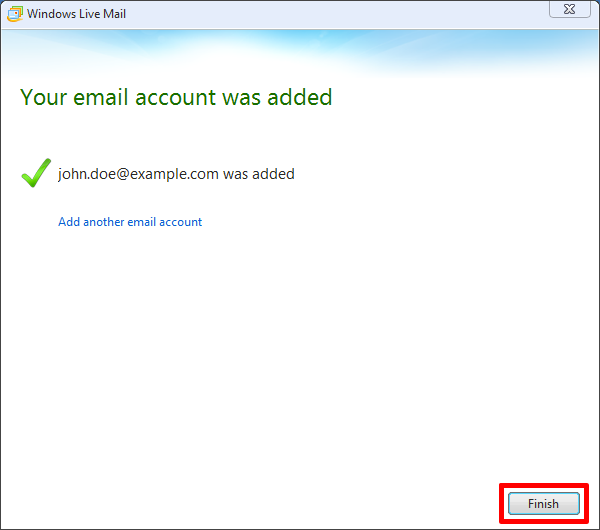
Click "Finish".
-
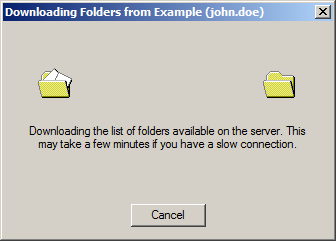
Wait a moment while Windows Live Mail downloads your IMAP folders.
-
You should see messages in your Inbox. If this is a new mailbox, you will have a welcome message from Datility.
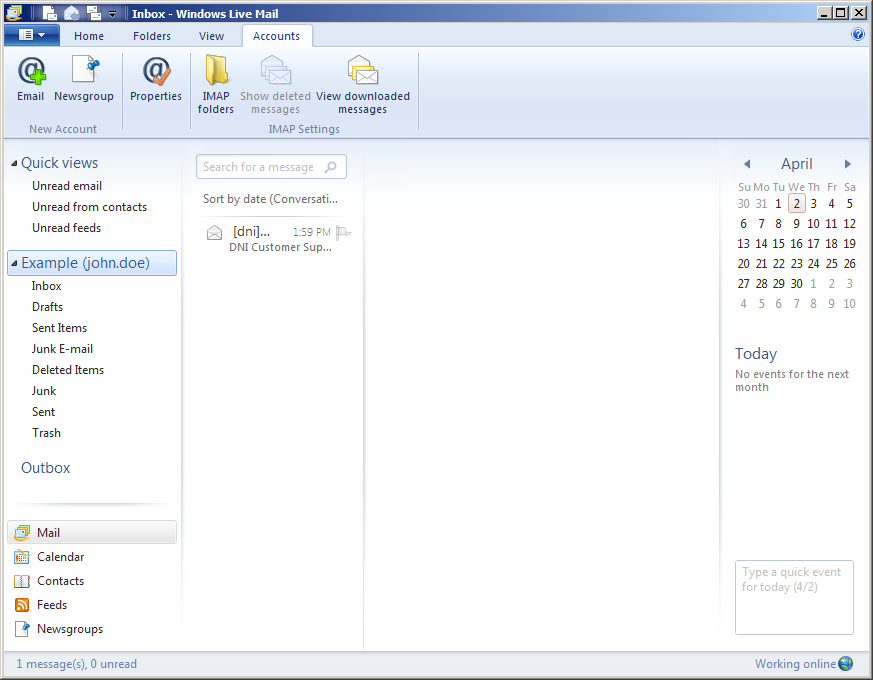
Your email account configuration is complete! You can now send and receive your Datility email in Windows Live Mail.